


![Can you Cook Eggs in the Microwave? [Complete Guide]](/assets/images/c1f79d1cad59f18f9b5dc31403bd0eb2.png)


Espresso Hazelnut Dacquoise
This elegant cake is all about the contrast of the crunchy, nutty dacquoise, which is a meringue made with ground nuts, and the silky smooth espresso buttercream. The perfect ending to an adult birthday party, this cake may be short in stature as far as birthday cakes go, but it is sophisticated, unique, and one of my favorites.
Ingredients:
For the Dacquoise:
For Decorating:
Instructions:
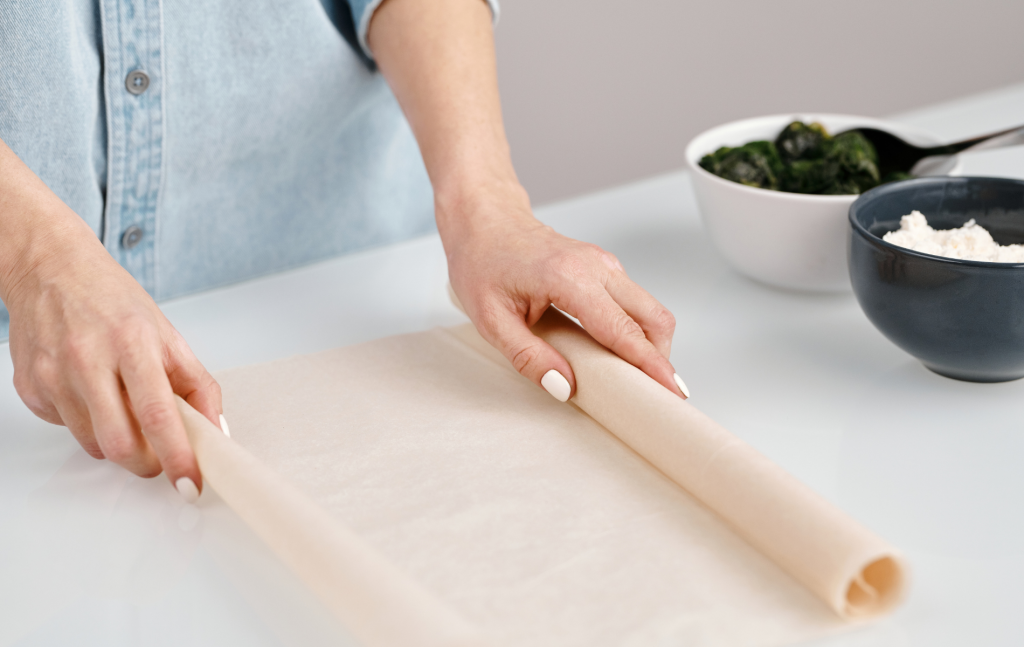
1. Position the racks in the upper and lower thirds of the oven. Preheat the oven to 250°F (120°C). Line two baking sheets with parchment and trace two 8-inch circles on one piece of paper and one 8-inch circle on the other. Flip the parchment over (you should be able to see the traced circles).
2. Place the nuts and flour in a food processor fitted with a metal blade. Pulse on and off about 5 times, then process until the nuts are very finely ground but still fluffy.
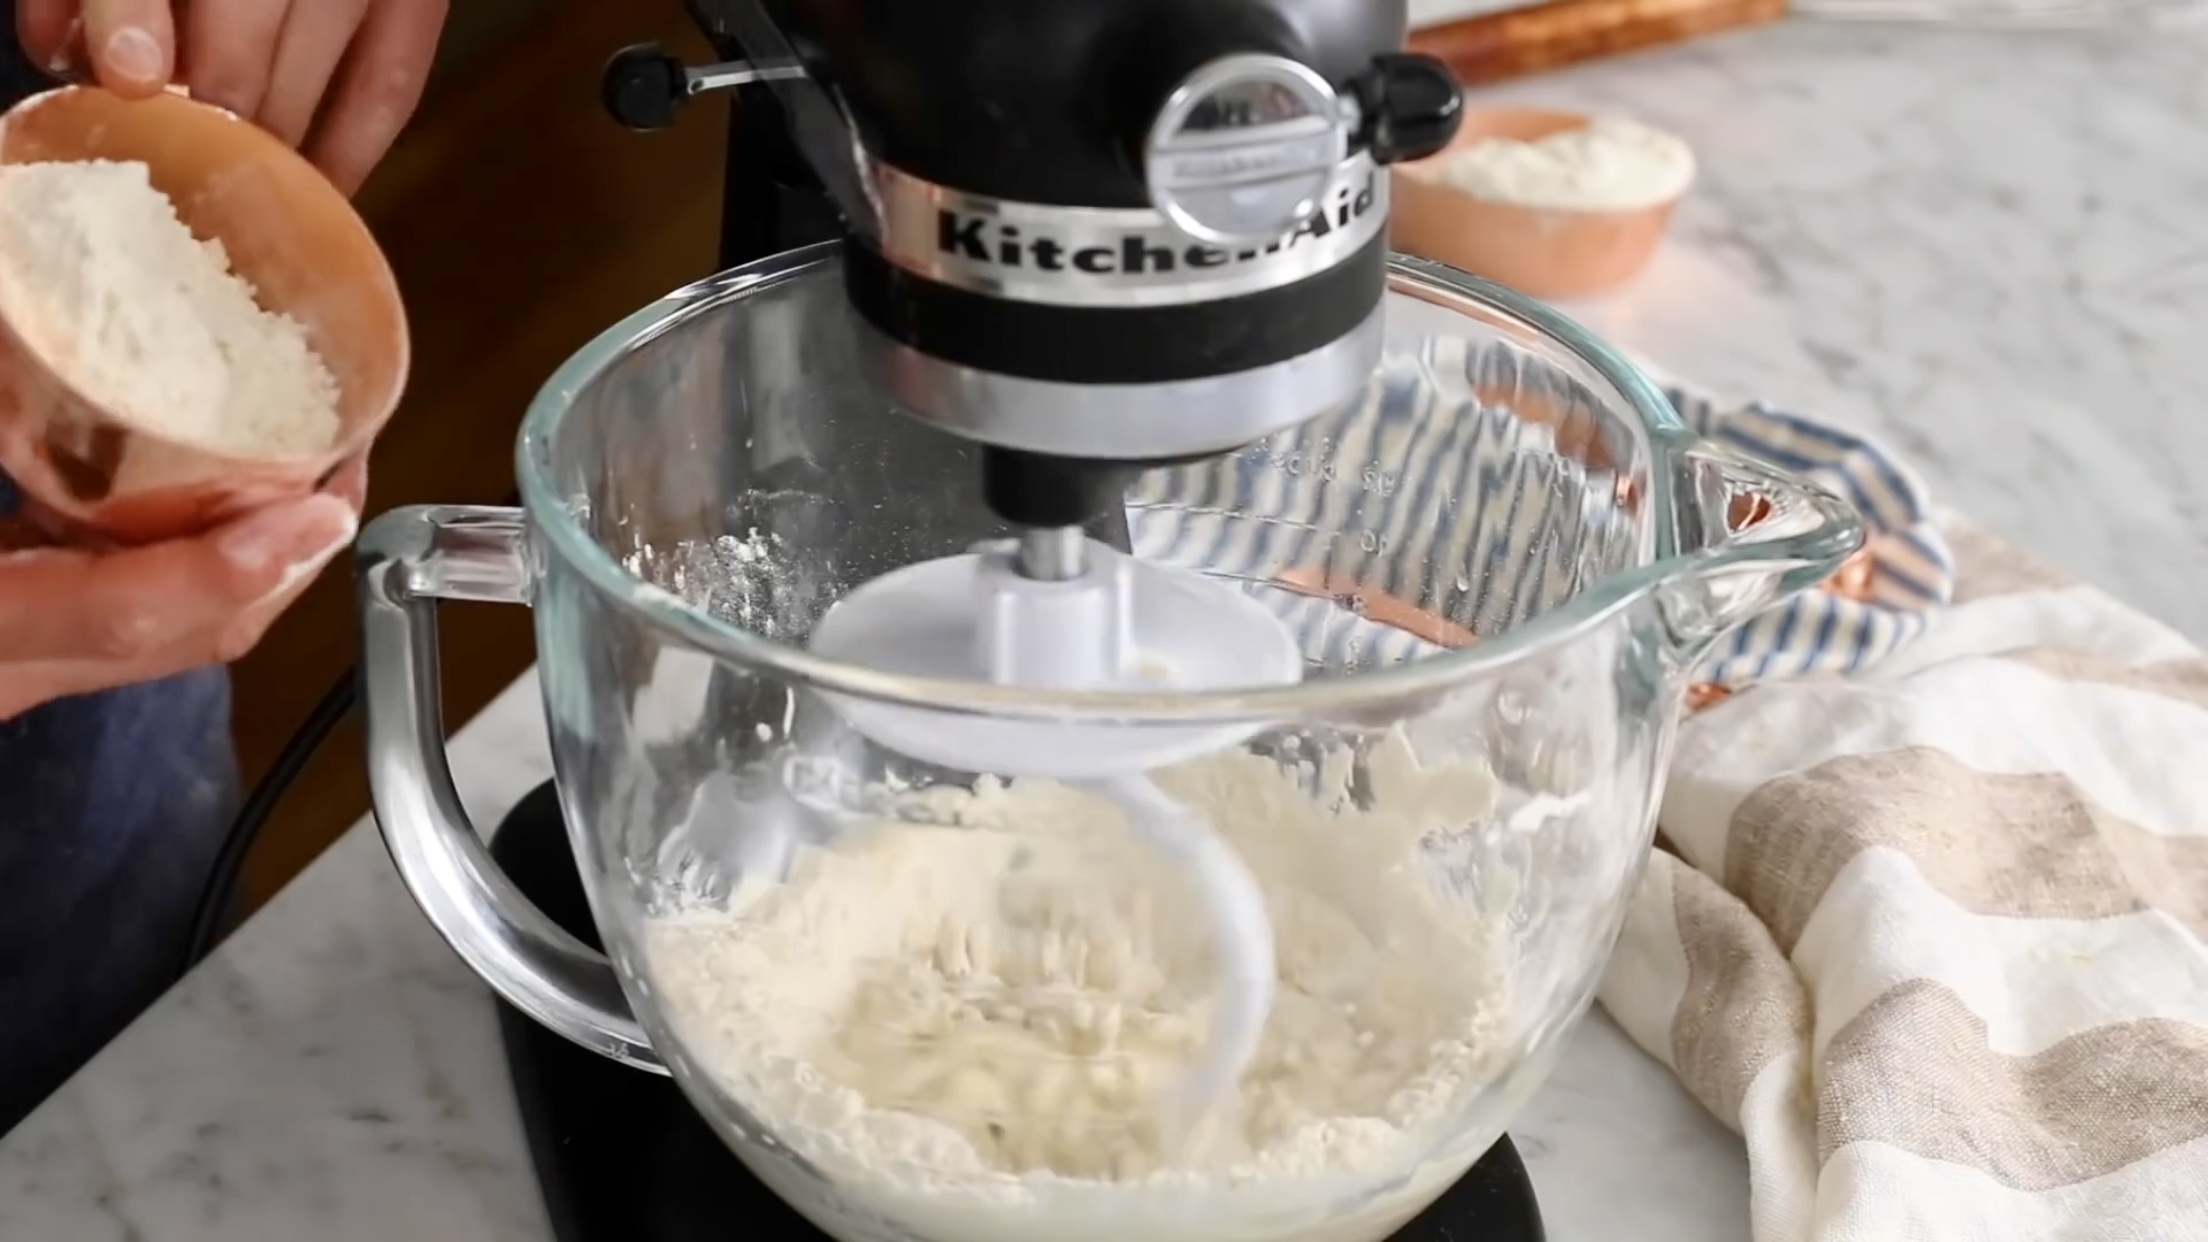
3. In a clean, grease-free bowl, whip the egg whites with an electric mixer on low speed until frothy. Add the cream of tartar, increase the speed to high, and continue whipping until soft peaks form. Add the sugar gradually and continue to whip until stiff, but not dry, peaks form. Beat in the almond extract. Fold in the ground nuts.
4. Using an offset spatula, spread an even 1/2-inch layer of dacquoise within the traced circles. Take time to make these as round and level as possible. There will be extra dacquoise left over, which you should spread here and there outside the borders of the circles; this will eventually be crushed to apply to sides of the cake during assembly, so the shapes aren't important.
5. Bake for 1-1/2 hours, or until very dry and crisp. The dacquoise may be very light brown. Cool the pans completely on wire racks. The dacquoise is ready to use. Take care not to break the round discs as you remove them from the parchment. It is best to place them on 8-inch cardboard rounds right away to protect them. The freeform pieces can be stored as is. The dacquoise may be stored in an airtight container until needed, up to 3 weeks.
6. Melt the chocolate in the top of a double boiler or in the microwave. Spread the chocolate smoothly on the bottom of each disc using an offset spatula. Set aside, chocolate side up, at room temperature for chocolate to harden, or refrigerate briefly, about 5 minutes, to set chocolate. Meanwhile, crush the extra dacquoise pieces by hand into small pieces; some will be powdery and some should be up to about 1/4-inch nuggets. Place the crushed dacquoise in a bowl.
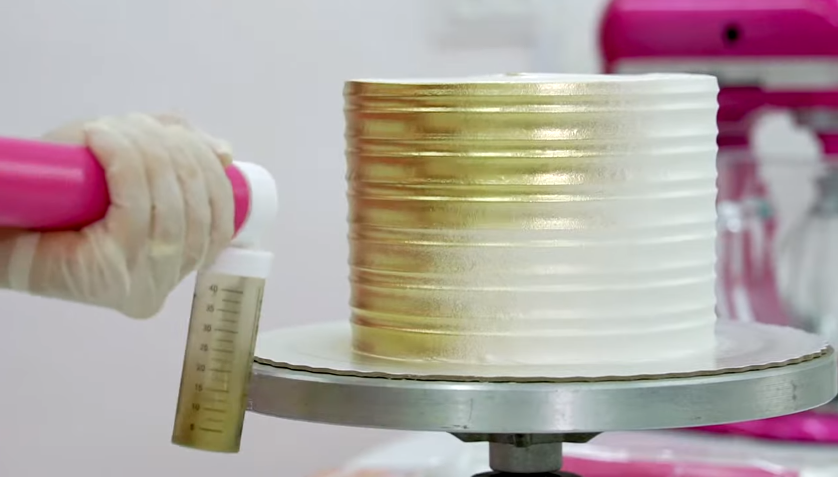
7. Have the buttercream ready to use. Affix one dacquoise disc, chocolate side up, to a cardboard round with a dab of buttercream. Spread a 1/2-inch layer of buttercream all over disc. Top with second disc, chocolate side up, and top with 1/2-inch layer of buttercream. Place the last disc chocolate side down on the buttercream. Frost the top and sides with more buttercream, making the top very smooth and the sides fairly thick.
8. To apply the crushed dacquoise: Pick up the cake on the cardboard and hold it over the bowl of crushed dacquoise with one hand, and apply dacquoise with other. Place the cake on a serving platter. Pipe a shell or rosette border on the top and bottom edges, if desired. Chill until the buttercream is firm, about 1 hour. The cake may be served immediately, or refrigerated overnight in a covered container. Bring to room temperature before serving.
Note: If, after baking, the dacquoise circles have lost some of their roundness, you can trim them carefully with a sharp knife. The rounder they are, the easier the cake will be to assemble and decorate – and the better it will look when done.